

Home
/
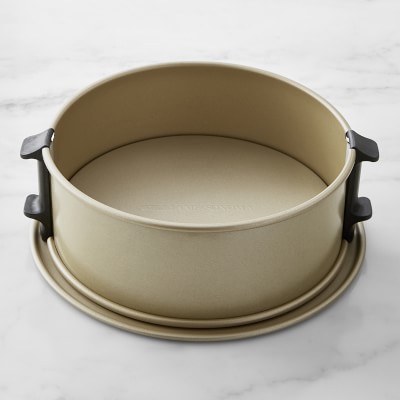
Williams Sonoma Goldtouch® Pro Nonstick Leakproof Springform Cake Pan, 9"
Williams Sonoma Goldtouch® Pro Nonstick Leakproof Springform Cake Pan, 9"
Quantity
-
Detail
Summary
This commercial-quality pan builds on the classic springform design, adding leakproof construction and our advanced Goldtouch® Pro nonstick coating for easy release and quick cleanup. Featuring side clips and a gasket on the base, it's ideal for cheesecakes, tarts and bread pudding.
- Commercial-grade aluminized steel distributes heat quickly and evenly for consistent results.
- Goldtouch Pro ceramic nonstick coating releases food with ease, enables quick cleanup and provides more abrasion-resistance than standard nonstick surfaces.
- Folded construction and coated wire reinforcement along rim maximize durability and resistance to rust and warping.
- O-ring at base of pan and vertical seals at edges of springform help prevent leakage (see simple assembly instructions under Use & Care tab).
- Dishwasher safe.
- Commercial Grade: Thoughtfully designed and expertly engineered to meet rigorous standards and best practices from select commercial testing.
Dimensions & More Info
- Overall: 10 1/2" diam., 2 3/4" high.
- Interior: 9" diam.
- 6 1/2-cup cap.
- 2 lb.
- Made in USA with domestic and imported materials.
Additional Information
- This product contains the following chemicals: polytetrafluoroethylene (PTFE), iron, manganese, aluminum, vanadium and compounds, titanium dioxide, silicone. For more information on chemicals in this product, visit the Williams Sonoma Disclosures page.
Use & Care
Assembly Instructions
- Place O-ring into groove on base. O-ring should be stretched into place as opposed to rolling it over base edge, as this will cause it to pop off. Tip: If O-ring loses its shape over time, place it in freezer overnight and it will return to its original size.
- Fit silicone vertical seals into rolled edges of side walls by sliding small tabs on seals into notches on side walls. Slide top tab down into notch, then stretch seal and slide bottom tab into bottom notch. Repeat on other side. Tip: Once seals are in place, they only need to be removed for occasional cleaning.
- Place both side walls onto base. Line up seal groove with opposing rolled edge of side wall. Pinch bottom of sides together. Slide handle down over seal, making sure rolled metal edges fit into back channel of handle. Use handle tabs to slide handle down into place. Gently press side walls in toward center of pan to ensure tight fit. Tip: There is no top or bottom to side walls, so it doesn't matter which direction side wall is placed on base as long as seals match up with rolled metal edge on other side wall.
Use
- Oven safe to 450°F.
- Before first use, hand-wash bakeware in warm water with mild dishwashing soap.
- Due to bakeware's heat efficiency, we suggest monitoring oven temperature and baking time for the first few uses, then making adjustments to recipes as necessary.
- Use only wood, silicone or plastic utensils to avoid scratching surface.
- Do not cut baked goods while they are in pan.
- If silicone seals or latches get stuck or become hard to remove, add drop of oil to inside of seal.
Care
- Dishwasher safe; however, we recommend hand-washing bakeware to maintain longevity over time.
- Clean with hot water, soap and soft sponge.
- Avoid using abrasive cleaning products and scouring pads.
-
Customer ReviewsNo comments
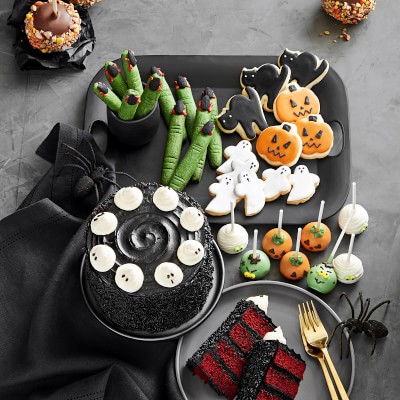
You May Also Like

50%
OFF
ADD TO CART
Save
$ 12.21
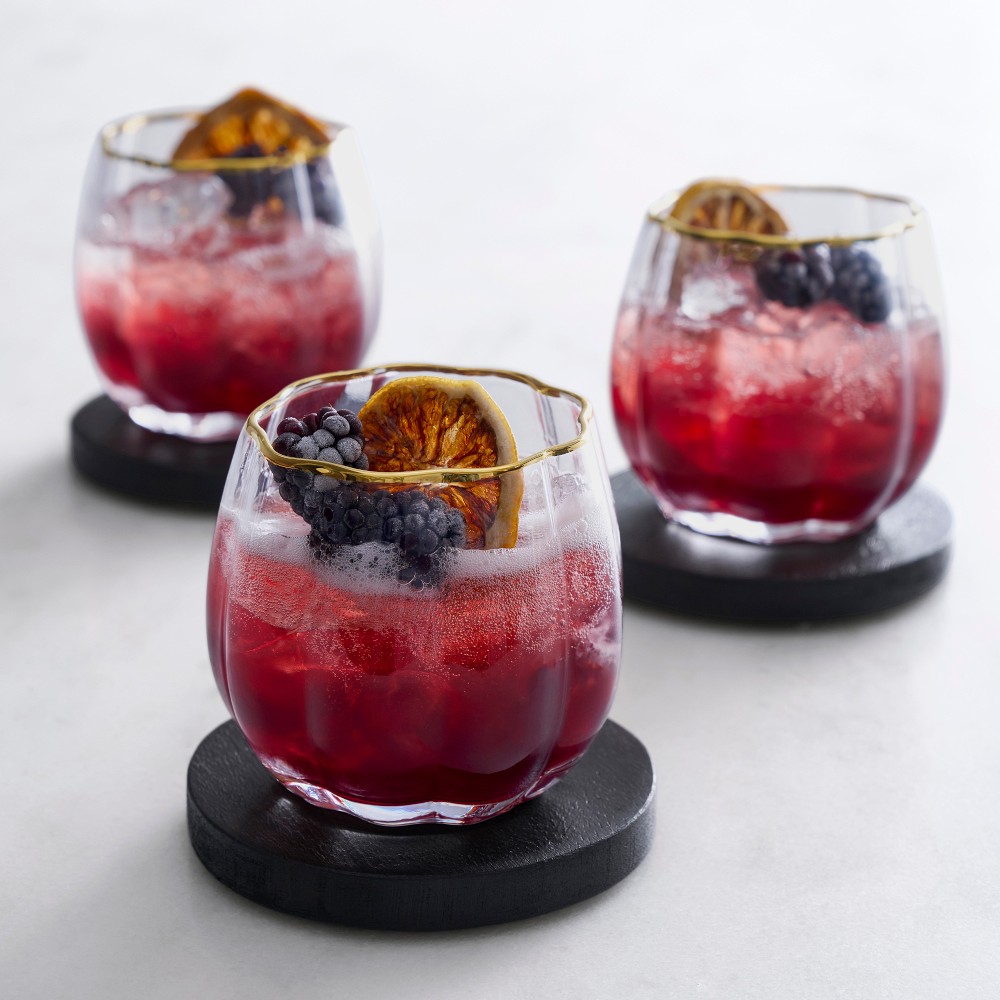
Williams Sonoma Witches Brew Halloween Cocktail Mix
$ 11.74
$ 23.95
ADD TO CART


50%
OFF
ADD TO CART
Save
$ 18.33
Personalized Halloween Cookies, Set of 3
$ 17.62
$ 35.95
ADD TO CART
50%
OFF
ADD TO CART
Save
$ 18.33
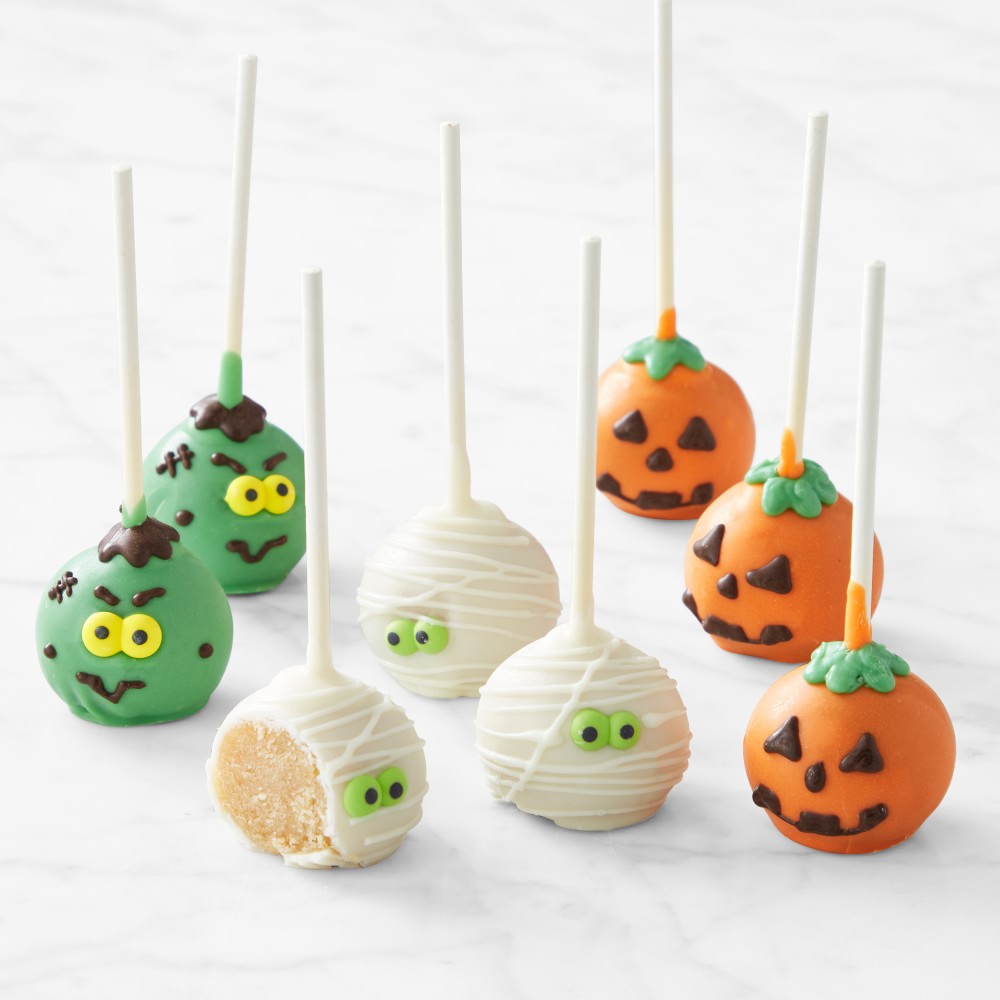
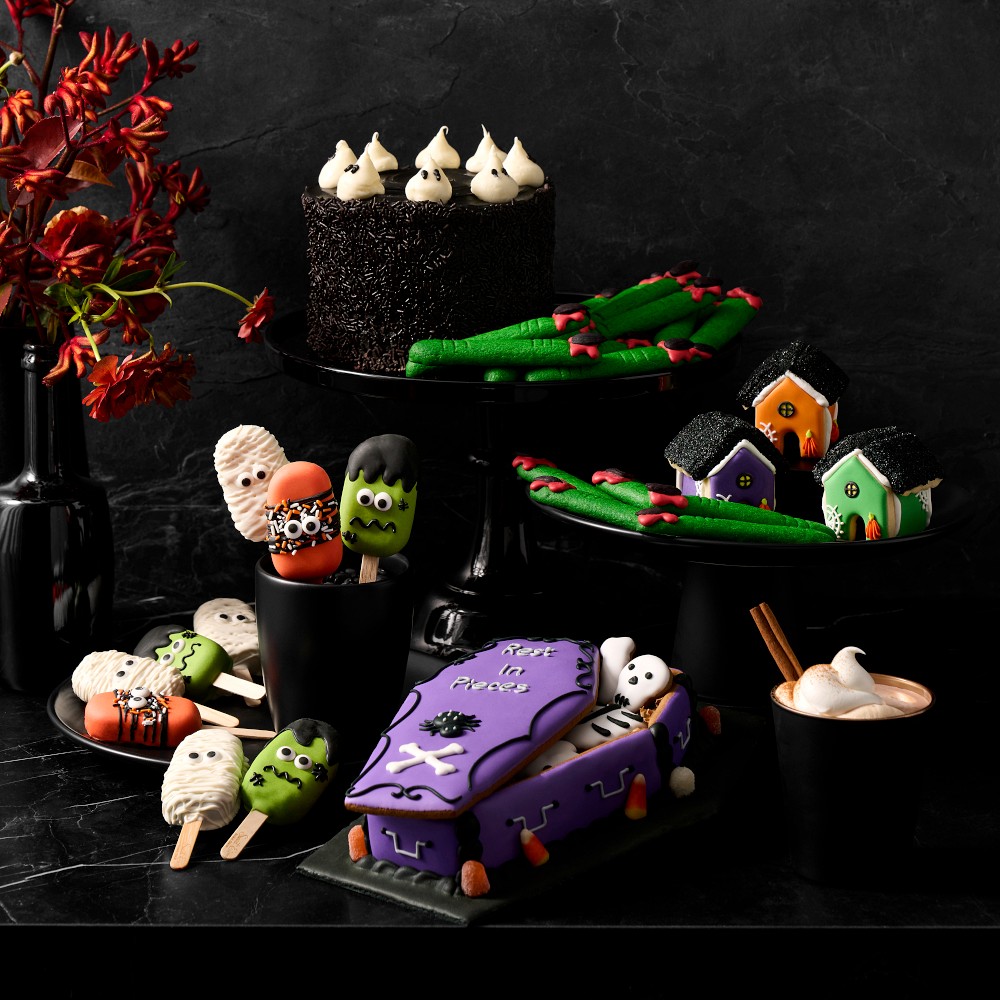
Halloween Cake Pops, Set of 8
$ 17.62
$ 35.95
ADD TO CART
50%
OFF
ADD TO CART
Save
$ 20.88
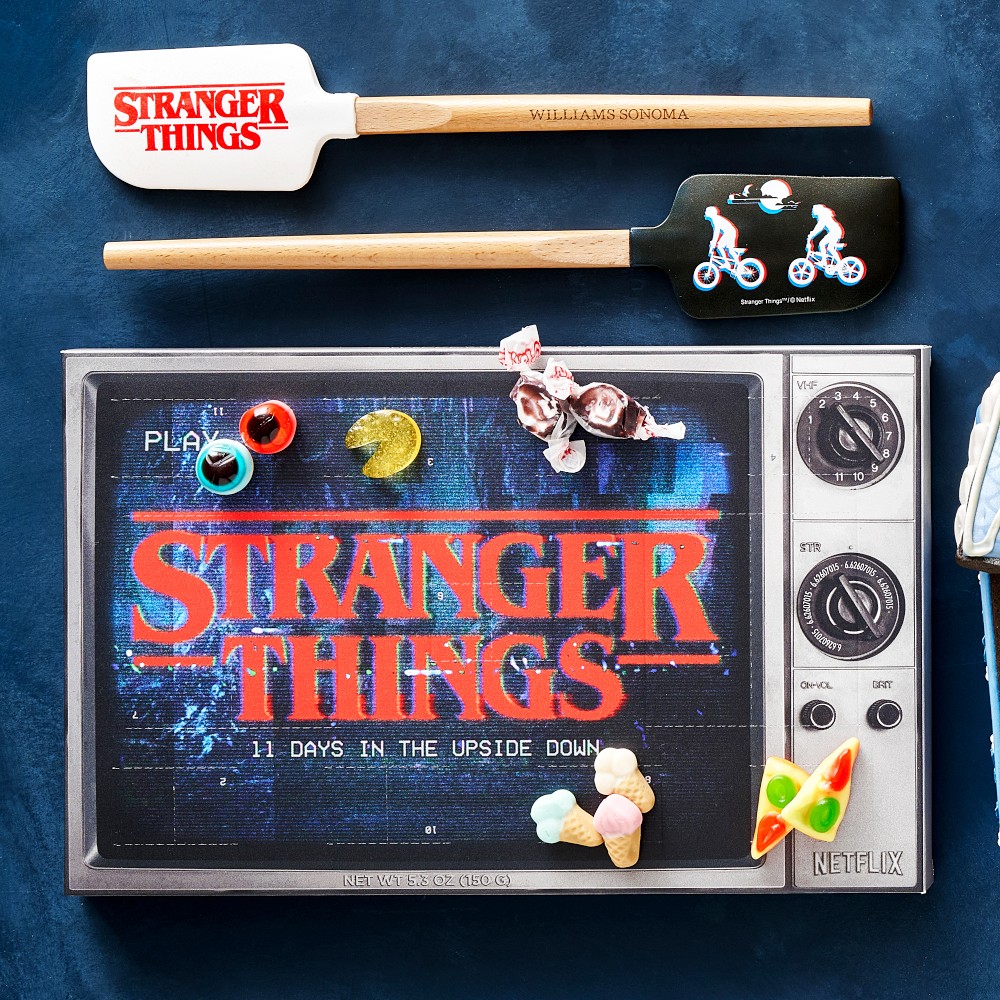
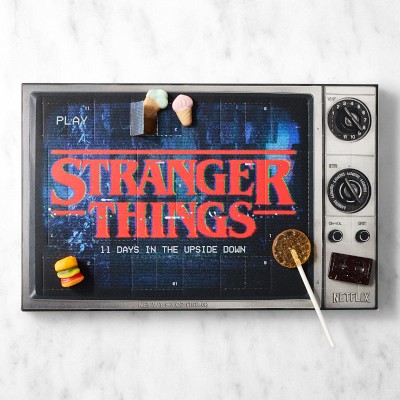
Stranger Things x Williams Sonoma Advent Calendar
$ 20.07
$ 40.95
ADD TO CART
50%
OFF
ADD TO CART
Save
$ 15.78
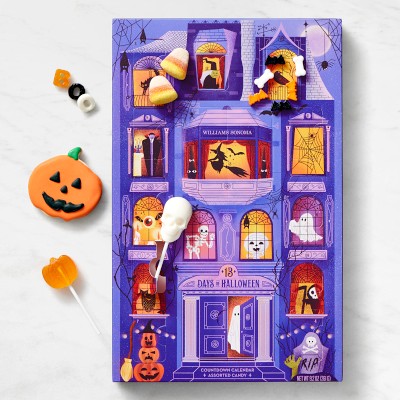
Williams Sonoma Halloween Countdown Calendar
$ 15.17
$ 30.95
ADD TO CART
50%
OFF
ADD TO CART
Save
$ 51.48
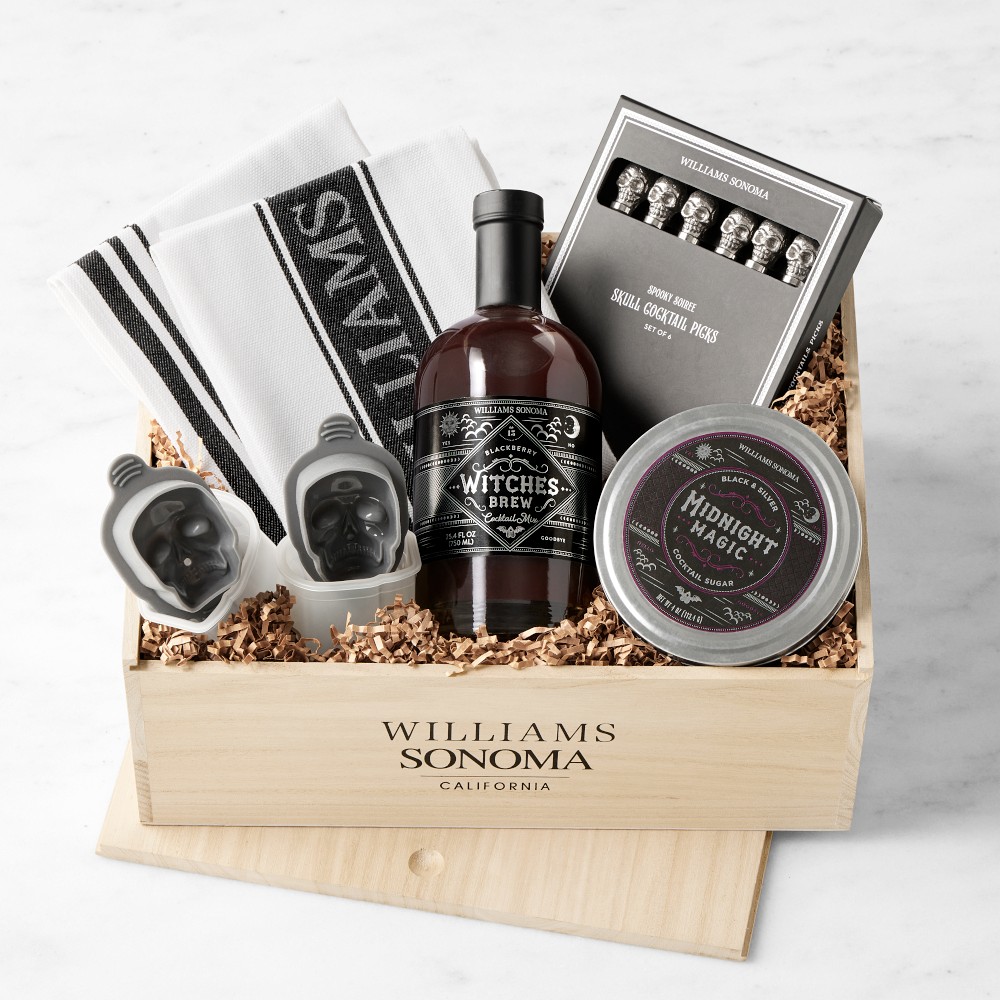
Haunted Host Gift Crate
$ 49.47
$ 100.95
ADD TO CART

50%
OFF
ADD TO CART
Save
$ 15.78
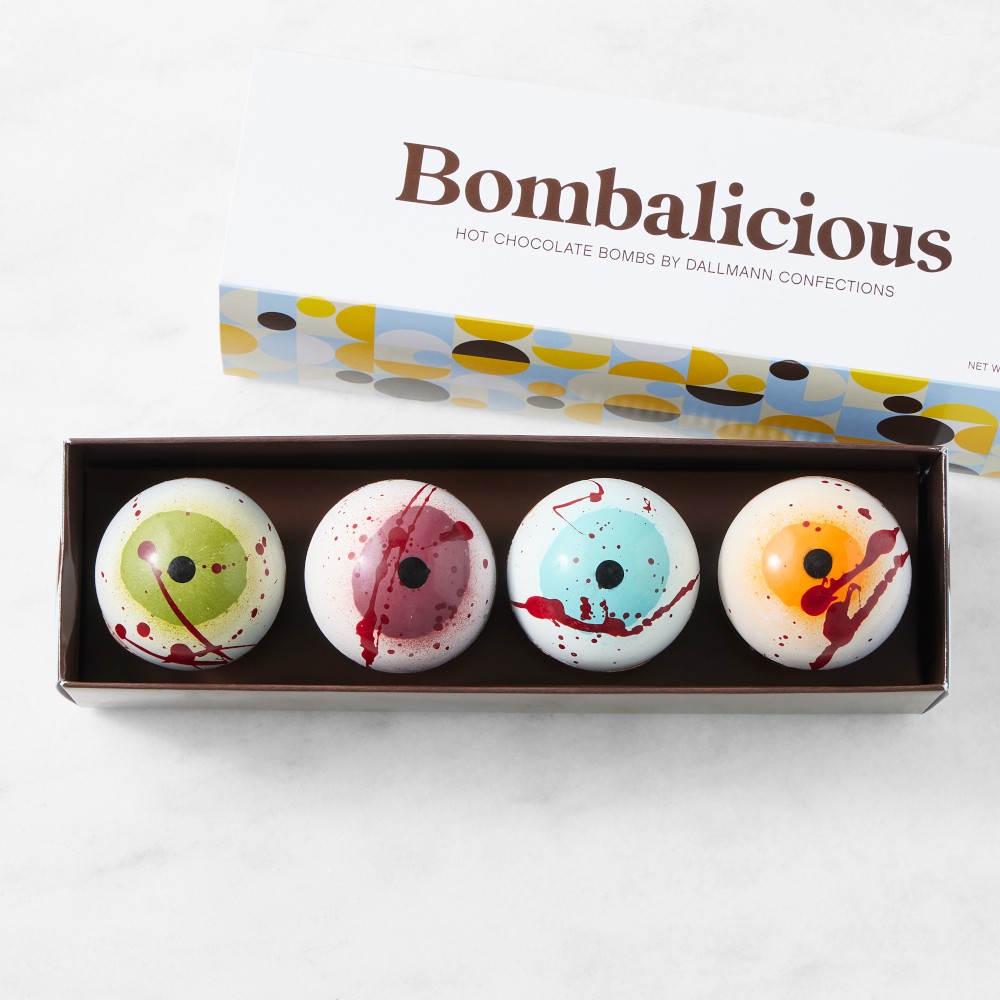
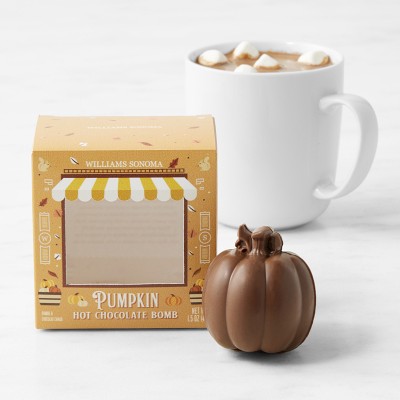
Eyeball Hot Chocolate Bombs
$ 15.17
$ 30.95
ADD TO CART
50%
OFF
ADD TO CART
Save
$ 13.74
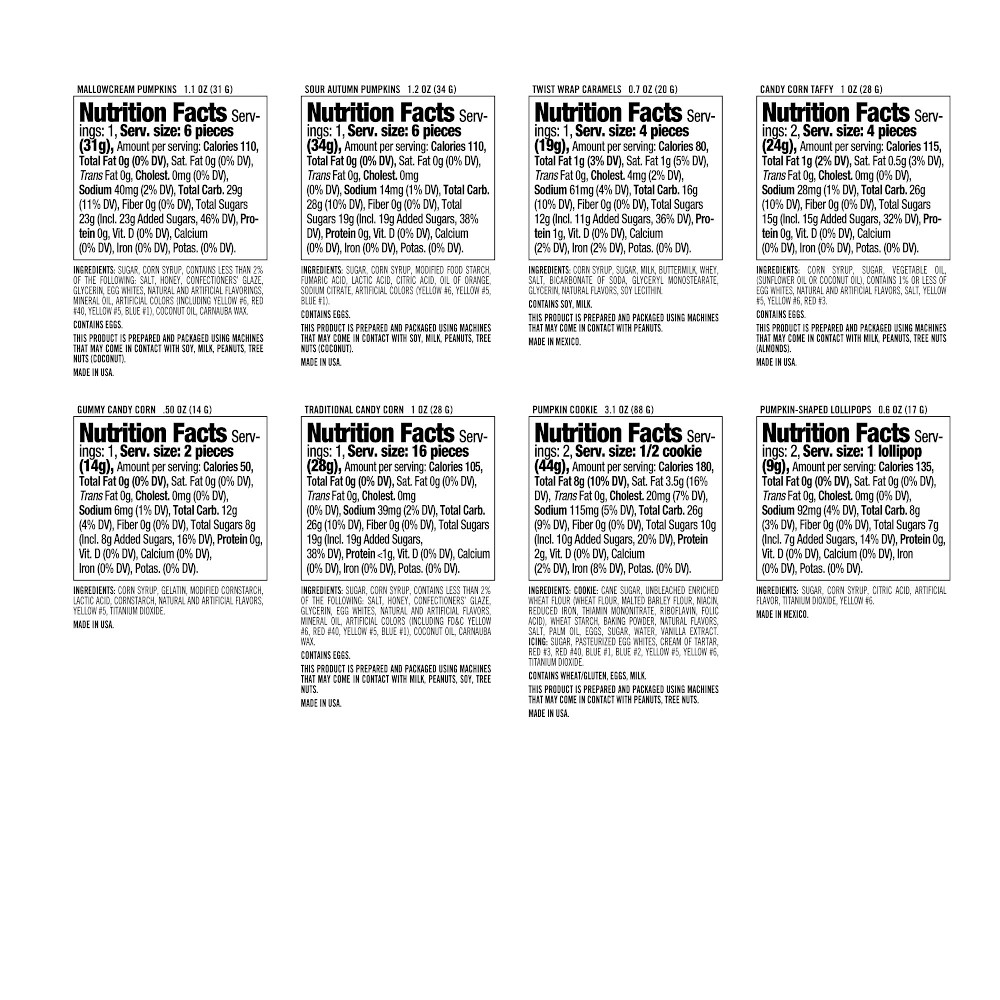
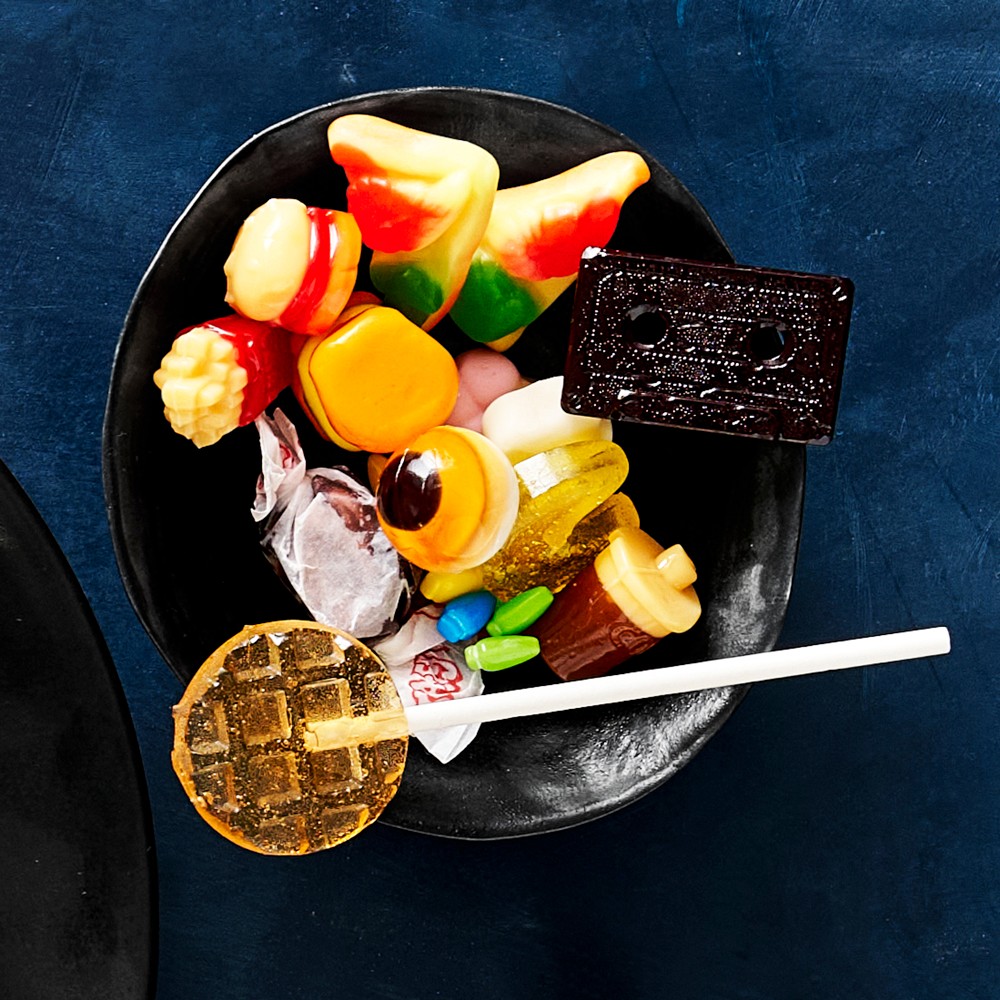
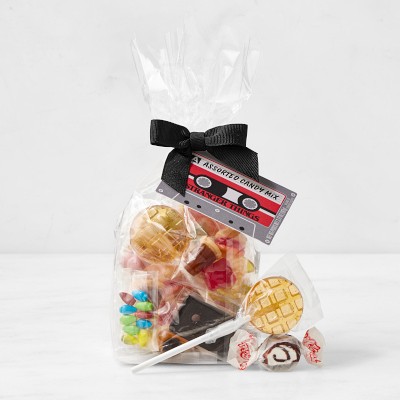
Stranger Things x Williams Sonoma Assorted Candy Mix
$ 13.21
$ 26.95
ADD TO CART
50%
OFF
ADD TO CART
Save
$ 15.78
Witch Finger Cookies, Set of 10
$ 15.17
$ 30.95
ADD TO CART

50%
OFF
ADD TO CART
Save
$ 25.98
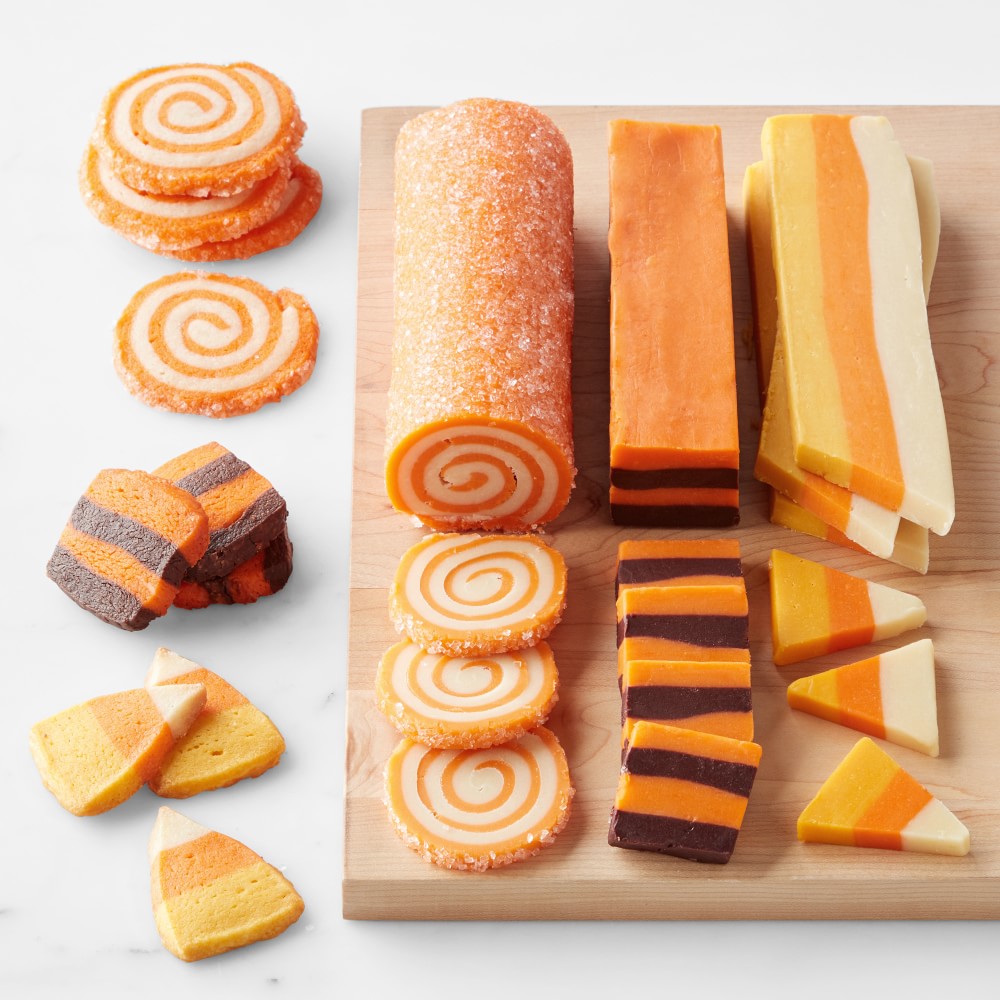
Assorted Halloween Cookies, Set of 15
$ 24.97
$ 50.95
ADD TO CART
50%
OFF
ADD TO CART
Save
$ 25.98
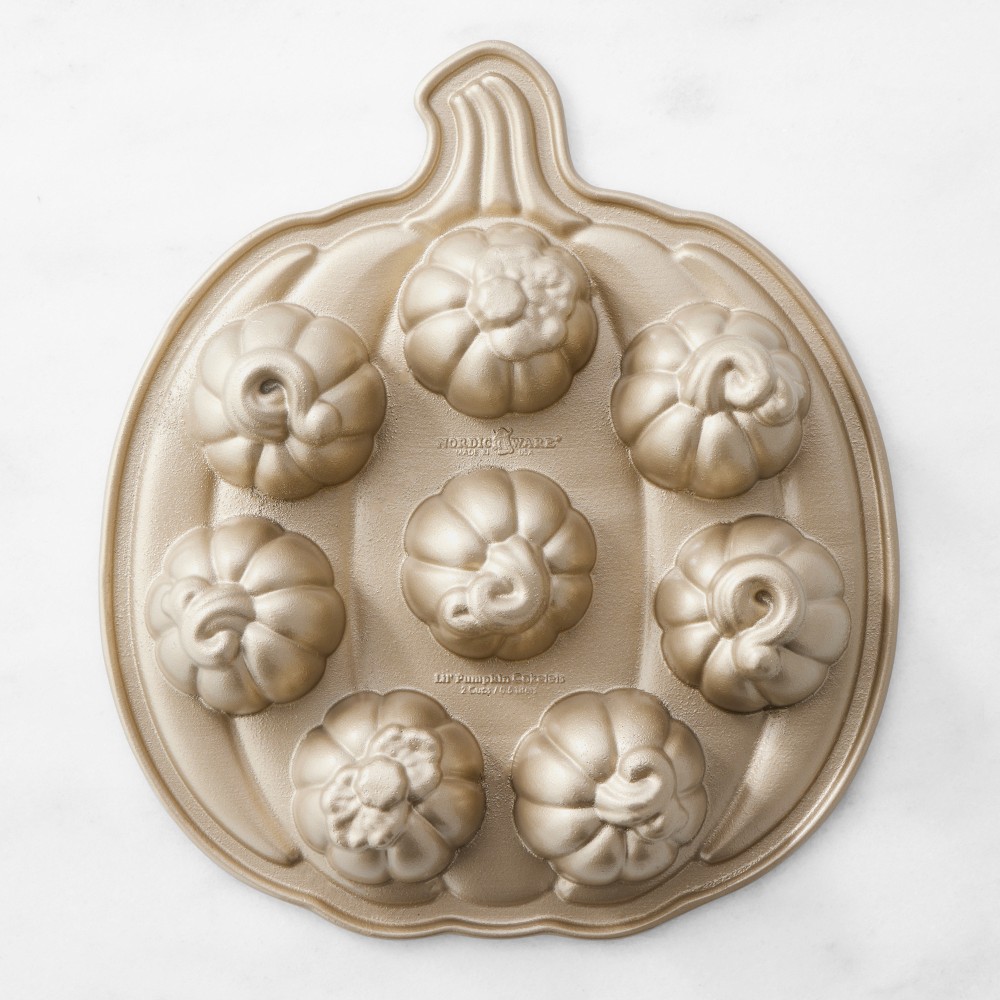
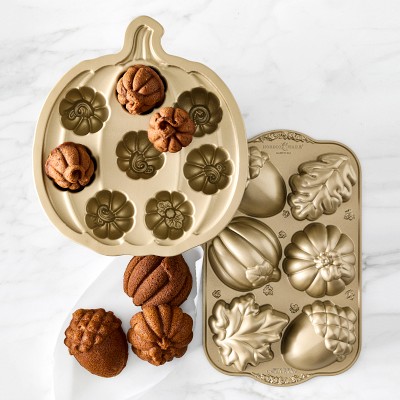
Nordic Ware Nonstick Cast Aluminum Pumpkin Bitelet Pan
$ 24.97
$ 50.95
ADD TO CART
50%
OFF
ADD TO CART
Save
$ 20.88
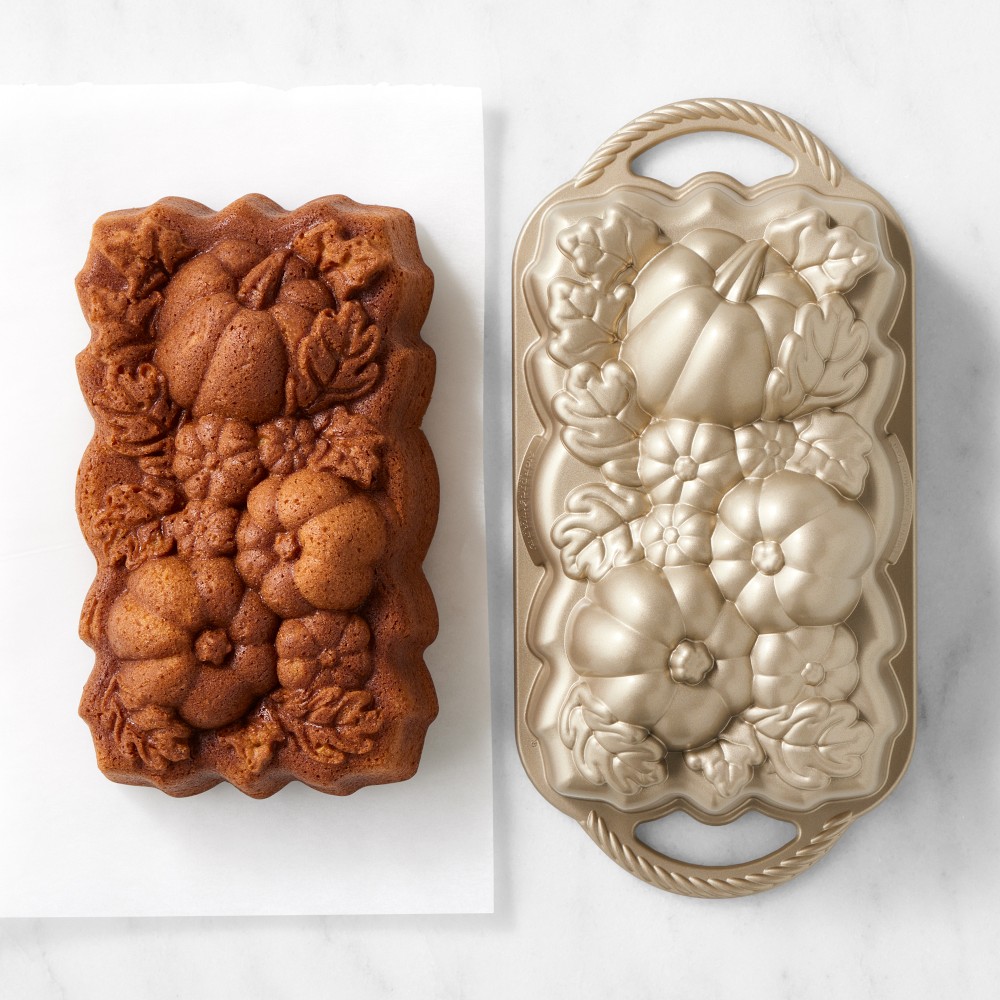
Nordic Ware Fall Loaf Pan
$ 20.07
$ 40.95
ADD TO CART
50%
OFF
ADD TO CART
Save
$ 10.68
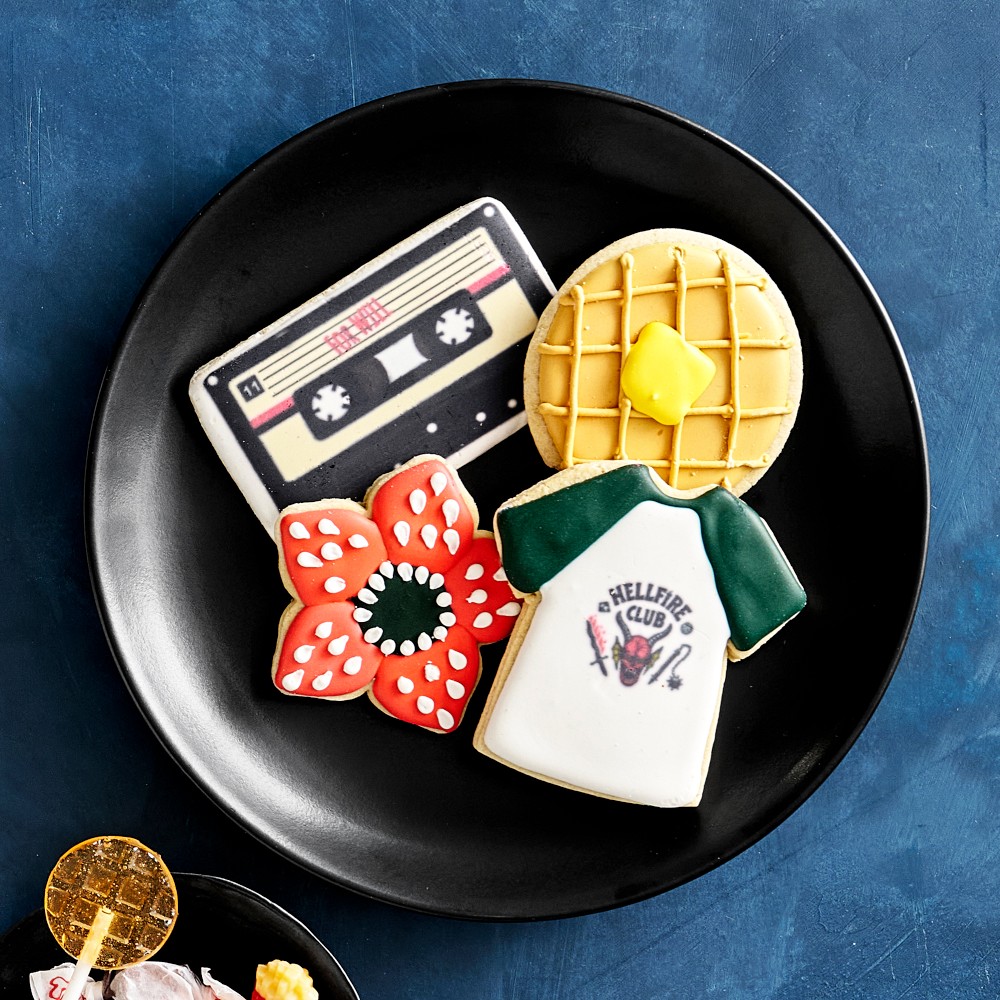
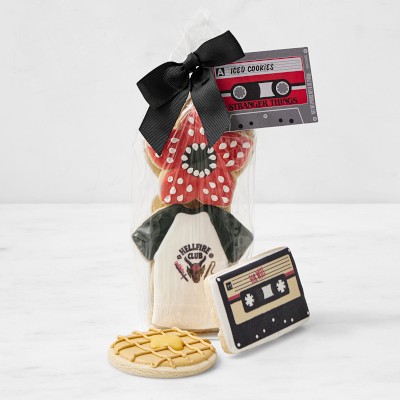
Stranger Things x Williams Sonoma Iced Cookies
$ 10.27
$ 20.95
ADD TO CART


50%
OFF
ADD TO CART
Save
$ 31.08
ADD TO CART

50%
OFF
ADD TO CART
Save
$ 15.78
ADD TO CART
50%
OFF
ADD TO CART
Save
$ 38.73
ADD TO CART
50%
OFF
ADD TO CART
Save
$ 4.05
ADD TO CART
50%
OFF
ADD TO CART
Save
$ 41.28
ADD TO CART
50%
OFF
ADD TO CART
Save
$ 9.15
ADD TO CART

50%
OFF
ADD TO CART
Save
$ 15.78
ADD TO CART